Sidebar
Approvals: 0/1The Previously approved version (2019/09/18 08:36) is available.

Now you are ready to train the model. In case you have multiple GPUs, you should first select a free GPU. The following command will show the status of all GPUs:
nvidia-smi
For this tutorial, we assume that you have either a single GPU or want to use GPU 0.
In the “Optional arguments” tab you can change the GPU that should be used by crYOLO. If you have multiple GPUs (e.g. nvidia-smi lists GPU 0 and GPU 1) you can also use both by setting the GPU argument to '0 1'.
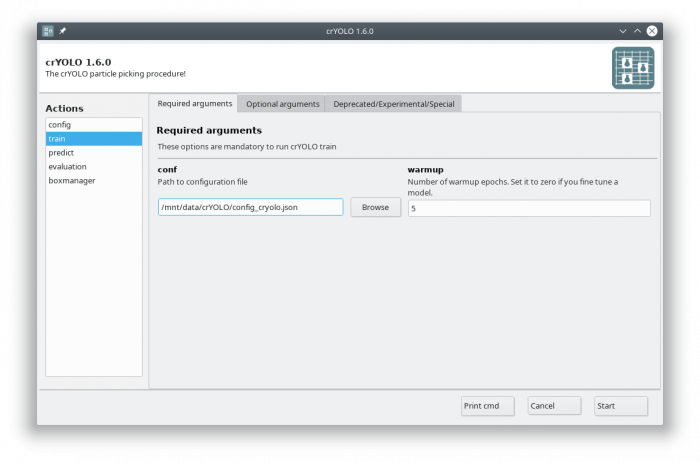
In the GUI you have to fill in the mandatory fields:

The default number of warmup epochs1) is fine as long as you don't want to refine an existing model. During the warmup training epochs it will not try to estimate the size of your particle, which helps crYOLO to converge.
When you start the training, it will stop when the “loss” metric on the validation data does not improve 10 times in a row. This is typically enough. In case you want to give the training more time to find the best model can increase the “not changed in a row” parameter to a higher value by setting the early argument in the “Optional arguments” to, for example, 15.
The final model will be written to disk as specified in saved_weights_name in your configuration file.
Click to display ⇲
Click to hide ⇱
Navigate to the folder with config_cryolo.json file, train_image folder, etc.
Train your network with 5 warmup epochs in GPU 0:
cryolo_train.py -c config_cryolo.json -w 5 -g 0
The final model file will be written to disk.


